
A repaired leak should stay dry when the water is turned back on and the fixture is used normally. Before the plumber leaves, inspect the repair, run the water, check the surrounding area, and make sure there is no new dripping, pressure problem, or spreading dampness.
Do not assume a repair is fine just because the visible drip has stopped for a minute. Small leaks can appear only under normal pressure, during drainage, or after a few hours. A careful check now can prevent another wet cupboard, damaged ceiling, or hidden wall problem later.
Check the repair before the plumber leaves
Start by asking the plumber to show you exactly what was repaired and what caused the leak. Then run water through the relevant fixture while both of you inspect the pipe, fitting, valve, or drain connection. If the repair involved a shut-off valve, test that too.
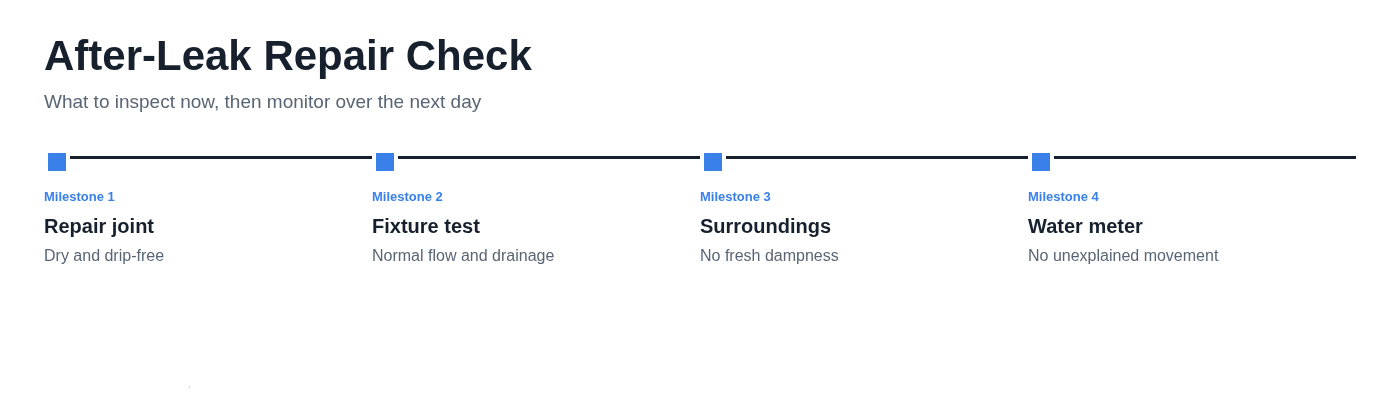
You should be able to confirm four things: the repaired area is dry, the fixture works as expected, water pressure has not noticeably changed, and there is no water collecting below the repair. Ask whether any sealant, adhesive, or replacement part needs time to cure before the fixture is used as usual.
This is also the right time to ask practical questions. Was a worn washer replaced? Was a corroded pipe section cut out? Is there another ageing fitting nearby that should be watched? A good explanation helps you spot a related issue early without trying to adjust plumbing yourself.
1. Look for active drips at the repair and nearby connections
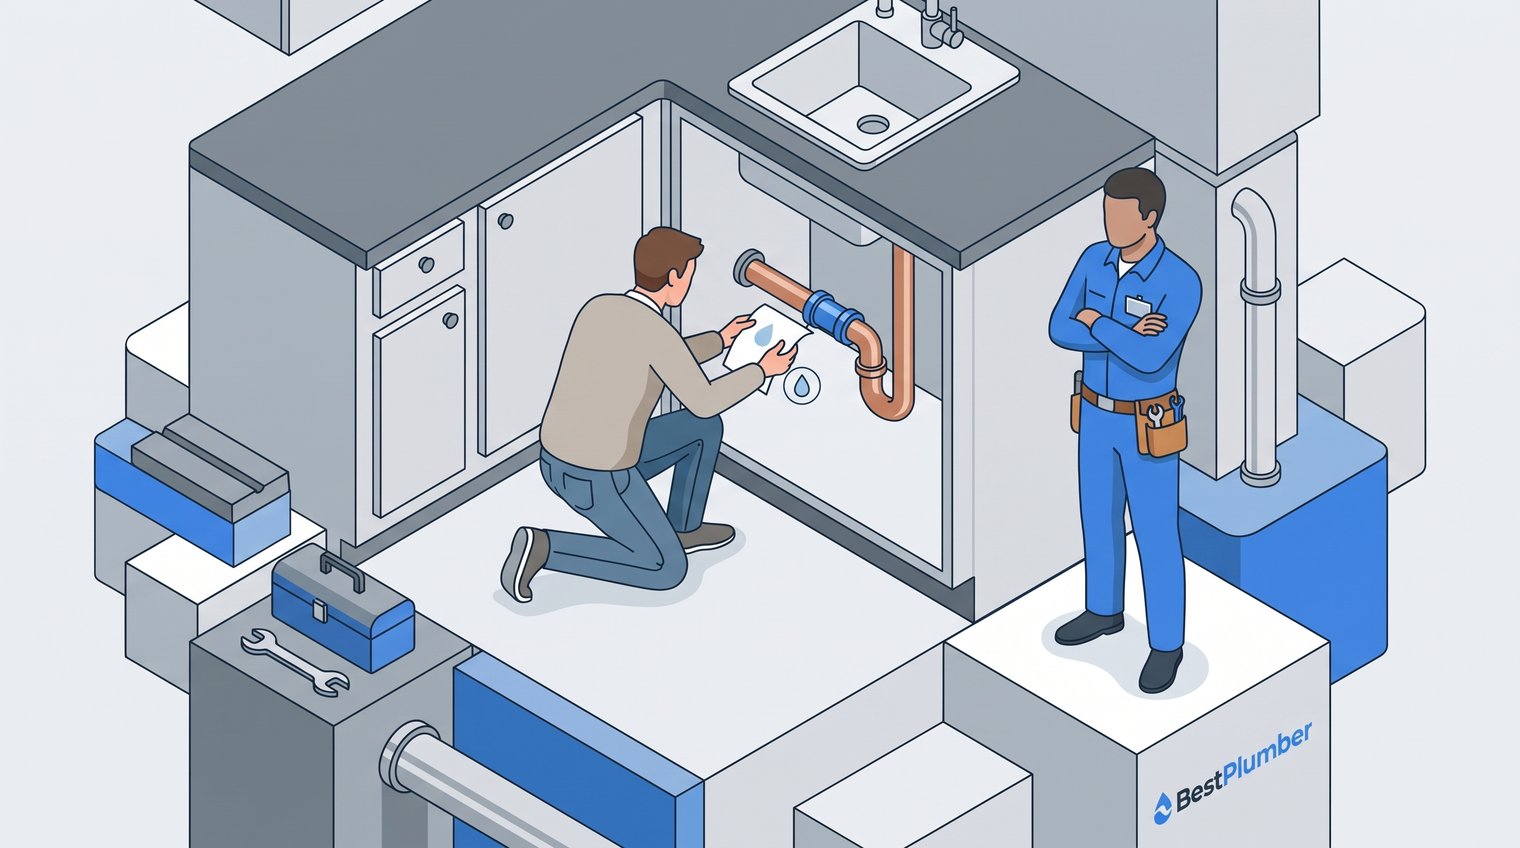
The first check is simple: look and feel for fresh water around the repair and every nearby connection. A dry tissue or paper towel is more reliable than your eyes alone, particularly under a sink or behind a toilet where a small bead of water can be hard to see.
Press the tissue gently around pipe joints, compression fittings, isolation valves, flexible supply hoses, trap connections, and the cabinet or floor directly below. Do this after the water has been turned back on. If the tissue becomes wet again after you have wiped the area dry, that needs attention.
A one-off trace of water may be left from the plumber's testing or from disconnecting a pipe. That is different from moisture that keeps returning. A properly repaired, pressurised connection should not form new droplets or leave a growing wet patch.
2. Run the fixture long enough to test the repair under normal use
A quick turn of the tap is not a meaningful leak test. Use the fixture as you normally would, then inspect the repair again. The right test depends on where the original leak occurred.
- Sink or basin: Run both cold and hot water at a low flow, then at a normal flow. Fill the basin partway and let it drain to test the waste pipe and trap.
- Toilet: Flush more than once and watch the supply valve, cistern connections, pan base, and surrounding floor. Listen for a cistern that keeps refilling.
- Shower or bath: Run water for several minutes, test drainage, and look below or around the access panel where possible.
- Washing machine or dishwasher supply: Check the hose connections while the appliance is filling and, if relevant, while it drains.
- Visible pipework: Recheck the repaired section after the system has been under normal pressure for several minutes.
For a leak in concealed pipework, you may not have a visible joint to inspect. In that case, look at any access point left open by the repair and monitor the surrounding wall, ceiling, or floor for new dampness over the next day. For further warning signs, see what are the signs of a hidden water leak in your home. Do not seal an access panel immediately if the plumber has advised a monitoring period.
3. Check water pressure, flow and temperature
Water should flow and heat normally after a leak repair. Compare the repaired fixture with how it worked before, and if needed compare it with another nearby tap. A large change in flow, pressure, or temperature is worth reporting.
Brief sputtering is common after plumbing work because air can enter the pipes while the water is off. Run the affected tap for a short time and it should clear. Persistent sputtering, very weak flow, banging pipes, vibration, or unstable hot water are not things to ignore.
Do not try to tighten fittings or alter valves to solve these symptoms yourself. A partly closed isolation valve, trapped debris, an airlock, or a separate plumbing fault may be involved. Contact the plumber, explain what changed, and say whether the issue affects one fixture or several.
4. Test the shut-off valve and confirm you know what it controls
If the repair involved an isolation valve, toilet valve, appliance valve, or main stopcock, make sure you know where it is and what it shuts off. This takes little time and is extremely useful if another leak occurs.
With the plumber present where possible, turn the relevant valve gently to confirm it stops the intended water supply, then return it to its normal open position. Check around the valve spindle and fittings for moisture after it is operated.
Never force a stiff, seized, or corroded valve. Older valves can fail when aggressively turned, and a stuck main stopcock is a problem for a plumber to assess. Make a quick note in your phone of the valve location and whether it isolates a single fixture, an appliance, or the whole property.
5. Inspect the surrounding cabinet, wall, ceiling or floor
The pipe may now be dry while the area around it still tells you whether water has been escaping. Check beyond the repair itself: the base of the cabinet, skirting boards, flooring, adjacent wall, ceiling below, and any accessible insulation or void.
Warning signs of a continuing or hidden leak include a damp patch that grows, softened plasterboard or cabinet material, staining, peeling paint, a musty smell, warped flooring, or a ceiling that feels spongy. These signs matter especially after a leak behind a wall, under a bath, or between floors.
Not every mark means the repair has failed. Old water staining can remain visible long after the source is fixed. The important question is whether the area is newly wet, expanding, becoming softer, or returning after it has dried. Take a dated photo now so you have a useful comparison tomorrow.
6. Watch the water meter for a hidden ongoing leak
A water meter check can reveal ongoing water use that is not visible under the sink or behind a panel. It is a useful whole-home check after a leak repair, particularly when pipework is concealed.
First, stop using water in the property. Make sure taps are off and avoid running appliances that may refill, such as washing machines, dishwashers, or water-using heating systems. Note the meter reading or watch the small leak indicator, if your meter has one. Leave the water undisturbed for a short period, then check again.
Unexplained meter movement may point to a continuing leak, but rule out ordinary water use before drawing that conclusion. Toilets that quietly refill, irrigation systems, appliances, and other occupants can all affect the reading. If you are confident no water is being used and the meter still moves, contact the plumber with that information. If the same fault returns, these checks can support what to do if the same plumbing problem comes back after repair.
7. Confirm the area is safe and usable again
Do not rush to put everything back just because the repair is complete. Leave the cupboard, access area, or floor space clear until it is dry and you have completed your checks. Stored items can hide a slow drip and may be damaged by lingering moisture.
Dry affected surfaces promptly and ventilate the room where possible. This helps limit musty smells and mould growth, especially in enclosed sink cabinets, bathrooms, and utility rooms.
Use extra caution if water was near a boiler, water heater, electrical outlet, consumer unit, light fitting, or wiring. Do not assume an electrical area is safe because the plumbing leak has stopped. If there is any doubt, keep clear of the area and contact an appropriately qualified professional.
Keep the repair details, invoice and guarantee information
Save the paperwork while the work is fresh in your mind. Keep the date, the location of the leak, the suspected cause, what work was completed, parts replaced, the plumber's contact details, and the invoice. If workmanship or replacement parts have a guarantee, keep the terms with the invoice.
Photographs are useful too. Take one of the repaired area before a panel is closed or cabinet contents are returned, plus a photo of any old water damage. If you need a callback, discuss an insurance claim, or monitor a stain, those images give you a clear record.
For a concealed leak or substantial water damage, ask whether a follow-up inspection is sensible. The plumbing repair may be complete while drying, restoration, or a check for damage to adjacent materials still needs attention.
When to call the plumber back urgently
Call the plumber promptly if you see active dripping, pooling water, worsening dampness, a major loss of water pressure, persistent low flow, sewer smells, repeated toilet refilling, or unexplained movement on the water meter when all water use has stopped.
Water near electrics, a rapidly spreading ceiling stain, or a significant uncontrolled leak needs more urgent action. If it is safe to do so, isolate the relevant water supply. Keep people away from wet electrical areas and seek urgent qualified help rather than attempting a repair yourself. While help is on the way, follow what to do while waiting for an emergency plumber.
When you report the problem, focus on useful facts rather than assuming the original repair is definitely at fault. Explain when you noticed the symptom, what fixture was being used, whether water is visible, and whether it is getting worse. Send clear photos or video if requested.
A successful leak repair should stay dry after normal use
The best post-repair check is straightforward: inspect the joint with a dry tissue, use the fixture normally, check the nearby cabinet, wall, ceiling, or floor, and monitor the area or water meter over the next day. A repaired leak should not create fresh droplets, returning dampness, or unexplained water use.
If a leak persists or you need a local professional to assess a new problem, use BestPlumber to find a plumber in your area.