
A bathroom renovation can look perfectly planned on paper and still become expensive chaos once a wall comes down. The usual culprit is not the tile choice or paint colour. It is plumbing that was assumed to be simple: a toilet moved too far from the soil pipe, a shower chosen for pressure the home does not have, or pipework hidden behind a newly finished wall.
Use this plumbing checklist before a bathroom renovation to make the key decisions before demolition, ordering, and first-fix work begin. It is designed to help you brief a plumber, compare layouts realistically, and avoid paying twice for the same work.
Start with a plumbing feasibility check
Before choosing fixtures or approving a layout, establish what the existing plumbing can support. Inspect the water supply, visible waste pipes, likely venting route, main stopcock location, boiler or water-heater capacity, and any evidence of leaks, corrosion, or past repairs.
This early review separates straightforward replacement work from a renovation that needs new routes, upgraded pipework, or structural access. A basin replaced in the same spot may be simple; moving a toilet or changing the soil-pipe route can affect cost, floor levels, ceilings below, and the entire schedule.
- Find the main stopcock and local isolation valves. Everyone working on the project should know how to isolate the water supply quickly. If the stopcock is seized, inaccessible, or poorly located, deal with that before work starts. See how to find the internal stopcock in your home if you are unsure where to look.
- Inspect visible pipework and connections. Look for staining, green corrosion around copper joints, dripping valves, patched sections, and signs of previous leaks. Old or questionable pipework is easier to replace while the bathroom is open.
- Identify the existing waste and soil-pipe routes. Note where basin, bath, shower, and toilet wastes disappear into floors or walls. These routes often determine which layout changes are practical.
- Check hot-water production. Establish whether the property uses a combi boiler, cylinder, gravity-fed system, or another arrangement. The answer affects shower choice and simultaneous hot-water use.
Confirm pipework condition and water pressure
Do not judge the plumbing solely by whether the current bathroom works. Slow drainage, weak shower flow, banging pipes, intermittent pressure, or warm-water delays are useful warnings that the system needs attention. If pressure is poor at only one outlet, this guide to low water pressure in one tap can help identify whether the issue is local or supply-related.
Check for ageing materials, awkward previous alterations, limited access below floors, and pipework hidden in walls. Where the condition cannot be verified visually, arrange for a qualified plumber to investigate before you commit to finishes or fixture positions.

Measure the existing layout before choosing fixtures
Showroom displays are generous. Real bathrooms have door swings, window openings, sloped ceilings, pipe boxing, and the need to clean or service fittings later. Measure the room before selecting anything larger than a tap.
- Record the full room dimensions. Measure wall to wall, floor to ceiling, and around any alcoves, chimney breasts, windows, and door openings. Include the direction of the door swing and the clear space it needs.
- Mark existing service centre lines. Record the exact positions of water feeds, wastes, soil connections, radiators, and electrical points. These measurements make it easier to judge whether a proposed fixture can stay in place.
- Photograph everything before strip-out. Take wide shots and close-ups, then label them by wall or location. Include stop valves, meter access, pipe routes, and any access panels.
- Allow fitting and maintenance clearance. Check that taps can be operated, shower screens can open, toilet seats have room, and valves can be reached once the room is complete.
If you know the joist direction below the floor, note it as well. It can affect whether a new waste route is straightforward or requires more complicated work.
Decide what stays put and what moves
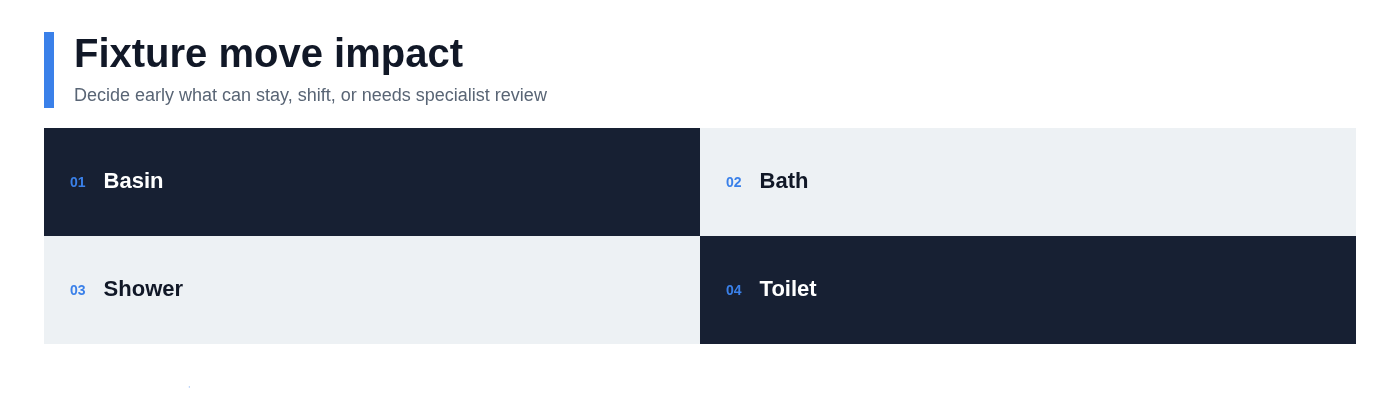
Make a fixture-by-fixture decision before the design is treated as final. List the WC, basin, bath, shower, radiator, and towel rail, then mark each one as retained, replaced in place, or relocated.
Keeping fixtures close to their current pipework usually reduces disruption. That does not mean you must preserve a bad layout, but it does mean every move should have a technical reason and a confirmed route for supplies and drainage.
- Replace in place where it protects the budget. A new basin in the existing location may only need minor adjustments to supplies and waste. This can free budget for better fittings, waterproofing, or ventilation.
- Get relocation routes confirmed early. A new drain may need space below the floor, in a ceiling void, or behind boxing. Do not approve a layout because it looks attractive until the plumber confirms the route.
- Consider access after the work is complete. Concealing pipework can improve the appearance of the room, but hidden valves, traps, or connections still need a service strategy.
Treat toilet and shower moves as high-impact changes
Toilets and showers are the changes most likely to disrupt a bathroom renovation. A toilet needs a suitable soil connection, adequate drainage, and appropriate venting. A shower needs a waste route with enough fall, a workable tray level, and waterproofing that integrates with the drain and wall finishes.
Ask how a proposed move affects the floor structure, ceiling below, pipe boxing, and finished floor level. If a pumped solution is suggested, understand the access, power, noise, and maintenance implications before accepting it.
Specify water supply, hot-water capacity, and isolation
A bathroom can have beautiful fixtures and disappointing performance if the water supply was not considered. Count the outlets likely to run at the same time: for example, a shower while someone uses a basin elsewhere in the home.
- Match fixtures to the available pressure. Tap, shower, and valve specifications should suit the property's system. Do not assume a high-flow rainfall head will perform well simply because it looked impressive in a showroom.
- Check hot-water capacity at peak use. A boiler, cylinder, or water heater must meet the likely demand. This matters particularly in households where more than one bathroom may be used at once.
- Plan accessible isolation valves. Fit isolation where it will be useful for future repairs, such as beneath a basin or where a fixture group can be shut off. You should not need to turn off water to the whole property for a minor repair.
Check shower performance before buying the valve and head
First identify the system: gravity-fed, mains-pressure, pumped, or combi-boiler based. Then select a shower valve and head that are compatible with it, rather than choosing by appearance alone.
Give the plumber a clear brief covering desired flow, thermostatic temperature control, fixed and handheld outlets, and any pump or electrical requirements. A concealed valve also needs a planned service route, because its cartridge may eventually need replacement.
Plan drainage, waste falls, and ventilation routes
Water supply pipes can often take varied routes. Drainage is less forgiving because wastes need adequate fall to carry water away without repeated blockages, noise, odours, or slow emptying.
- Map every waste route. Identify the path for basin, bath, shower, and toilet wastes, including where each pipe runs and where it can be accessed later. Do not leave this to be solved after the floor is opened.
- Confirm adequate drainage fall. The plumber should establish whether the proposed route can maintain suitable fall without raising the shower tray or altering floor levels beyond what the design allows.
- Coordinate traps and venting. Poorly planned branch pipes or venting can lead to gurgling, trap seal loss, and unpleasant odours. These are design problems, not minor finishing defects.
- Plan extractor ducting early. An extractor is especially important in a bathroom without an opening window. Confirm the duct route before ceilings are closed, particularly if it crosses another room or requires external termination.
Choose fixtures before the first-fix stage
Style decisions are not enough. Before first-fix plumbing starts, the trades need the technical details for the toilet, basin, taps, shower valve, bath, tray, screen, wastes, and radiator or towel rail.
Collect manufacturer specification sheets and installation instructions, including rough-in dimensions, connection types, pressure requirements, and required accessories. A late change to a concealed shower valve or wall-hung WC frame can force expensive reopening of a finished wall.
- Confirm every fixture model and finish. Similar-looking products can have very different connection locations and installation requirements. Use the exact model number, not a vague product description.
- Check lead times before scheduling work. Made-to-order items, specialist screens, and particular finishes may take longer than standard fittings. Order them early enough to avoid delaying second-fix work.
- Include all supporting components. Fixtures are often sold separately from traps, wastes, frames, trims, wall plates, valves, and mounting hardware. Missing one small part can stop installation.
Create a fixture schedule the trades can use
A simple fixture schedule prevents misunderstandings. It also acts as a practical plumbing checklist before a bathroom renovation, because it shows what still needs a decision before the walls are closed.
| Item | Record before first-fix |
|---|---|
| Product and model | Exact manufacturer, model number, finish, and dimensions |
| Connections | Water feeds, waste size, rough-in dimensions, pressure needs, and electrical needs |
| Required parts | Traps, wastes, frames, valves, trims, brackets, niches, and access panels |
| Delivery and responsibility | Delivery date and who is supplying each item |
Share the schedule with the plumber, electrician, builder, and tiler where relevant. It is far more useful than a collection of product screenshots in separate messages.
Coordinate plumbing with electrical, structure, and waterproofing
Bathroom work goes wrong when each trade works from a different assumption. Agree the sequence before demolition so pipework, cables, framing, waterproofing, and finishes do not compete for the same space.
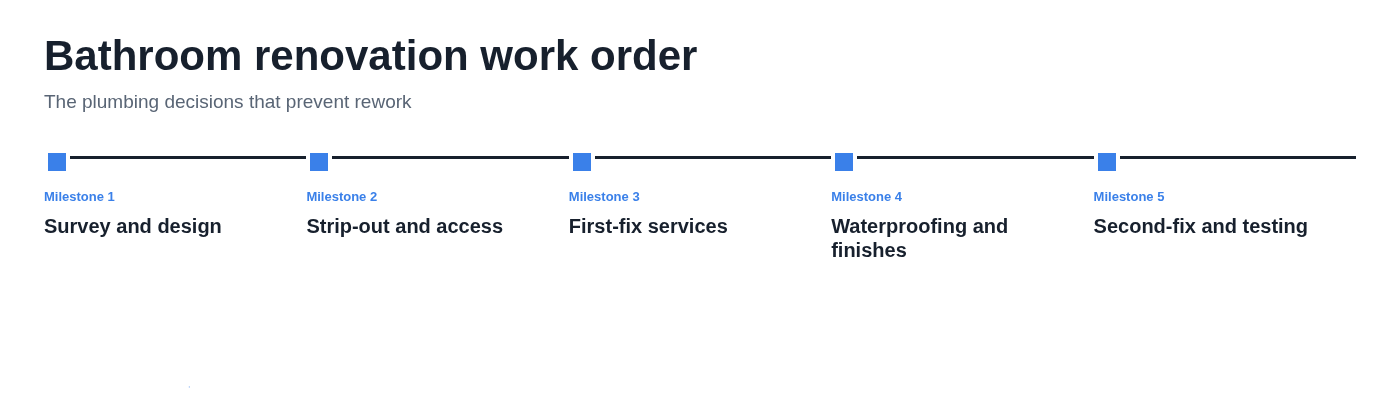
The usual order is investigation and strip-out, structural or framing work, first-fix plumbing and electrics, wall and floor preparation, waterproofing and finishes, then second-fix installation and testing. Exact details vary by project, but installing finishes before services are proven is backwards.
- Reserve routes for every service. Pipes, cables, extractor ducts, recessed storage, and structural members all need physical space. Discuss these routes together rather than letting the first trade on site decide.
- Define waterproofing responsibility. Confirm where the waterproofing system begins and ends, how penetrations are sealed, and who completes each handoff. The shower valve, pipe penetrations, tray, drain, and wall finish must work as one system.
- Coordinate framing and fixture supports. Wall-hung basins, wall-hung toilets, grab rails, heavy mirrors, and some shower screens may need planned reinforcement before the wall is closed.
Get a written plumbing scope, quote, and approvals plan
A quote should explain the work, not just provide a final number. Ask for a line-item scope covering labour, pipework changes, valves, wastes, testing, disposal, making good, and clear exclusions.
Also establish who supplies fixtures and materials. A plumber may price labour and standard consumables while you supply visible fittings; that can work well, but only if responsibility for compatibility, delivery, and missing parts is clear.
- Ask what assumptions the quote makes. Find out whether the price assumes sound existing pipes, accessible floor voids, and usable drainage. These assumptions reveal where additional cost may arise.
- Set a realistic contingency. Hidden leaks, damaged subfloors, inaccessible pipework, and unexpected defects are common discoveries after strip-out. A contingency is sensible planning, not a sign that the project is poorly managed.
- Check permissions and compliance requirements. Depending on the property and planned work, building-control requirements, landlord or freeholder permission, and water-related regulations may apply. Confirm applicable requirements with your local authority, landlord or freeholder, and plumber before work begins, and use appropriately qualified professionals where required.
Ask these questions before appointing a plumber
- Who supplies each fixture, valve, waste, and accessory? Clarify this in writing so essential parts do not arrive late or get assumed to be included.
- What does the quote assume about existing pipework? This helps you understand whether replacement of ageing or damaged services would be an additional cost.
- What happens if concealed defects are found? Agree how variations will be documented and approved before extra work proceeds.
- When are first-fix and second-fix planned? The timing should align with fixture delivery, tiling, waterproofing, and electrician visits.
- What needs to be decided before each visit? This prevents a plumber arriving without final fixture specifications or access to the required areas.
- What testing, warranty, and certification details will be provided? Keep relevant records with the bathroom documents for future maintenance or sale of the property.
Protect the work during installation and test before handover
Do not let the only record of hidden plumbing disappear behind tiles and plasterboard. Photograph first-fix pipework before walls and floors are closed, and take measurements from permanent reference points such as door frames or corners.
- Record hidden service routes. Photograph supplies, wastes, valves, and cable routes while they are visible. This makes future repairs, alterations, and safe drilling much easier.
- Test before final finishes lock everything in. Where appropriate, pressure-test plumbing, run wastes, inspect joints, and verify access to service points before tiling and final sealing make repairs more difficult.
- Check all functions at handover. Run hot and cold water, test shower temperature control, watch drainage speed, flush the toilet repeatedly, inspect for leaks, operate the extractor, and check seals around every wet area.
- Store the paperwork together. Keep manuals, product specifications, warranties, photographs, and details of installed valves in one folder. You will be glad to have them when a cartridge, trap, or trim needs replacing.

Your before-renovation plumbing checklist
Use this compact checklist before ordering materials or starting demolition. Treat the first group as must-do work; the final items improve future maintenance and make the project easier to manage.
- Assess existing pipework, drainage, pressure, and hot-water capacity. Confirm the system can support the bathroom you are planning, not just the one currently installed.
- Measure the room and photograph all visible services. Record dimensions, centre lines, valves, access points, and likely pipe routes before strip-out removes the evidence.
- Lock the fixture layout. Mark every item as staying, being replaced in place, or moving, and obtain technical confirmation for each relocation.
- Confirm toilet and shower drainage before approving the design. These are high-impact changes that can affect floor levels, boxing, ceiling space, and budget.
- Match taps and shower equipment to the water system. Choose fixtures that suit the available pressure and hot-water arrangement.
- Finalise exact fixtures and supporting parts before first-fix. Share specification sheets, rough-in dimensions, and delivery dates with the relevant trades.
- Coordinate plumbing, electrics, structure, extractor ducting, and waterproofing. Agree the work order and handoffs so no finished surface has to be opened again.
- Get a detailed written plumbing scope and plan for contingencies. Make responsibilities, exclusions, testing, and defect procedures clear before work begins.
- Photograph first-fix work and test before handover. Verify performance, drainage, access, and sealing while any corrections are still practical.
Nice-to-have improvements include keeping an annotated fixture schedule, saving labelled photographs, and retaining spare tiles or serviceable trims for later repairs. For a local professional to review your bathroom-renovation plan, you can browse plumbing listings through BestPlumber.